Woodworm infestation is one of the most common threats to wooden homes, furniture, flooring, and structural timber. While many homeowners first notice tiny holes or powdery wood dust, the real concern often begins after the infestation has been treated: How do you repair the damage left behind?
Woodworm larvae feed inside timber, creating tunnels that weaken wood from the inside out. Depending on how long the infestation has remained active, damage can range from small cosmetic problems to serious structural weakness. The good news is that woodworm damage is often repairable, especially when caught early.
Repairing woodworm damage involves more than simply filling holes. It requires identifying the severity of the damage, treating any active infestation, strengthening weakened timber, and preventing future problems.
Many homeowners researching timber care through shashel.eu/ understand that early repair and proper maintenance are essential for protecting wooden structures and avoiding expensive replacements.
In this guide, we will explain what you need to know about woodworm damage repair, how to assess the damage, and the best ways to restore affected wood safely.
What Is Woodworm Damage?
Woodworm damage occurs when wood-boring beetle larvae feed inside timber.
How Damage Happens
Adult beetles lay eggs in:
- Cracks in wood
- Untreated timber
After hatching:
- Larvae tunnel through wood
This feeding creates:
- Small tunnels
- Internal weakening
Eventually, adult beetles emerge through tiny holes.
Because most activity happens inside wood:
Damage often remains hidden for years
Signs That Woodworm Damage Needs Repair
Not all woodworm damage looks severe at first.
Common Warning Signs Include
- Tiny holes in timber
- Powdery wood dust
- Weak wood
- Cracks
Structural Warning Signs
Watch for:
- Sagging floors
- Weak beams
- Loose furniture joints
Never ignore visible damage.
Early action protects timber.
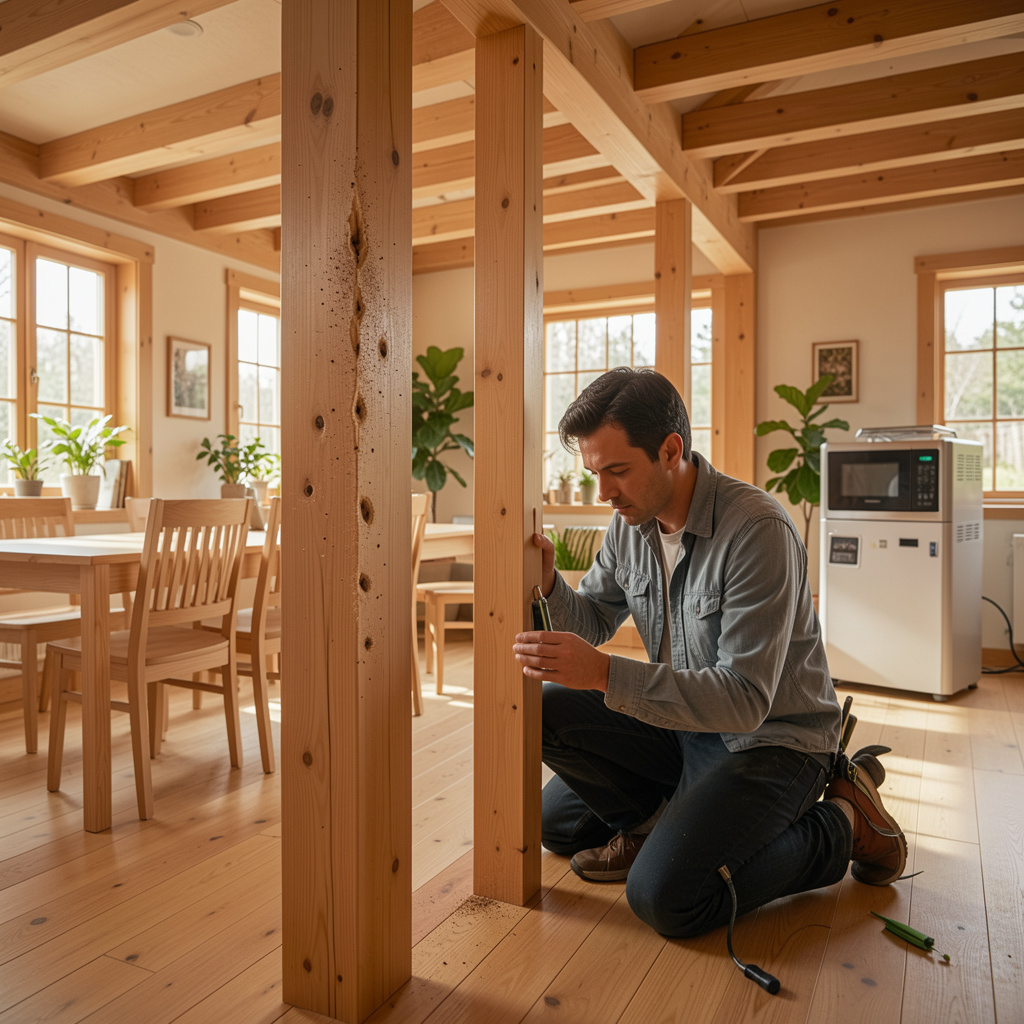
Step 1: Confirm the Infestation Is No Longer Active
Before starting repairs:
Make sure woodworm activity has stopped
Signs of Active Infestation
Look for:
- Fresh powdery dust
- New holes appearing
- Beetle activity
Why This Matters
Repairing wood before treatment may lead to:
- Continued hidden damage
Stopping infestation comes first.
Many homeowners exploring timber care through shashel.eu understand that successful repair begins with eliminating active woodworm completely.
Step 2: Assess the Severity of Damage
The repair approach depends on timber condition.
Mild Damage
Usually includes:
- Surface holes
- Small cosmetic issues
Moderate Damage
May involve:
- Weak sections
- Minor structural weakening
Severe Damage
Could include:
- Structural instability
- Deep internal damage
Professional inspection may help assess serious cases.
Step 3: Inspect Hidden Areas Carefully
Woodworm often spreads beyond visible damage.
High-Risk Areas Include
- Roof beams
- Floor joists
- Ceiling supports
- Furniture interiors
Why Hidden Inspection Matters
Visible holes may represent only part of the problem.
Checking surrounding timber improves repair success.
Step 4: Repair Small Cosmetic Damage
Minor damage is often easier to repair.
Common Cosmetic Repairs Include
- Filling small holes
- Sanding surfaces
Why Cosmetic Repair Helps
Restoring appearance improves:
- Furniture value
- Home appearance
Small repairs work best after infestation treatment.
Step 5: Strengthen Weak Timber
Moderate damage may weaken wood.
Repair Options May Include
- Reinforcing damaged areas
- Stabilizing weak sections
Why This Matters
Weak timber may continue deteriorating if ignored.
Supporting damaged wood improves durability.
Step 6: Replace Severely Damaged Timber When Necessary
In some situations:
Replacement becomes necessary
High-Risk Structural Areas
Replacement may be required for:
- Roof beams
- Floor supports
Why Safety Matters
Severely weakened wood may affect:
- Structural stability
Professional advice improves decision-making.
Safety comes first.
Step 7: Repair Furniture Carefully
Woodworm frequently damages furniture.
Common Furniture Repairs Include
- Tightening loose joints
- Stabilizing weakened areas
Important Tip
Preserve as much original wood as possible.
This is especially important for:
- Antique furniture
Gentle restoration protects value.
Step 8: Improve Moisture Control
Repair alone is not enough.
Why Moisture Matters
Damp timber encourages:
- Future infestation
Common Moisture Sources
Inspect for:
- Roof leaks
- Plumbing leaks
- Poor ventilation
Dry timber naturally resists pests better.
Preventing moisture protects repaired wood.
Step 9: Improve Ventilation
Poor airflow encourages humidity.
Why Ventilation Helps
Good airflow helps:
- Keep wood dry
- Reduce reinfestation risk
Focus Areas
Improve ventilation in:
- Attics
- Basements
- Roof spaces
Healthy timber lasts longer.
Step 10: Consider Protective Wood Treatment
Preventive treatment helps protect repaired timber.
Benefits of Wood Protection
Protective care may help resist:
- Moisture
- Surface wear
Routine maintenance improves durability.
Healthy wood needs ongoing care.
Step 11: Schedule Regular Inspections
Woodworm damage can sometimes return.
Routine Checks Help Detect
- New holes
- Fresh dust
- Weak timber
Frequent inspections improve long-term protection.
Small warning signs matter.
Common Mistakes Homeowners Make
Repairing Before Treating Infestation
Hidden larvae may remain active.
Ignoring Moisture Problems
Dampness increases future risk.
Overlooking Hidden Timber
Damage may spread quietly.
Delaying Repairs
Small problems become expensive later.
Fast action saves money.
When to Seek Professional Help
Professional help is recommended if:
- Structural timber feels weak
- Damage spreads
- Roof beams are affected
Experts can assess:
- Timber safety
- Repair needs
Professional advice improves outcomes.
Long-Term Benefits of Proper Woodworm Repair
Repairing damage early offers many advantages.
Benefits Include
- Lower repair costs
- Better structural safety
- Longer timber lifespan
- Improved home value
Healthy timber protects the entire property.
Prevention matters.
Conclusion
Woodworm damage repair begins with understanding the extent of the problem and making sure infestation has stopped before restoration begins. While mild cosmetic damage may be easy to repair, more serious structural problems may require reinforcement or timber replacement.
Inspecting hidden wood, improving ventilation, controlling moisture, and protecting repaired timber are essential for preventing future problems.
